
The Lining Pockets
Fold your pocket piece wrong sides together lengthwise, and press.

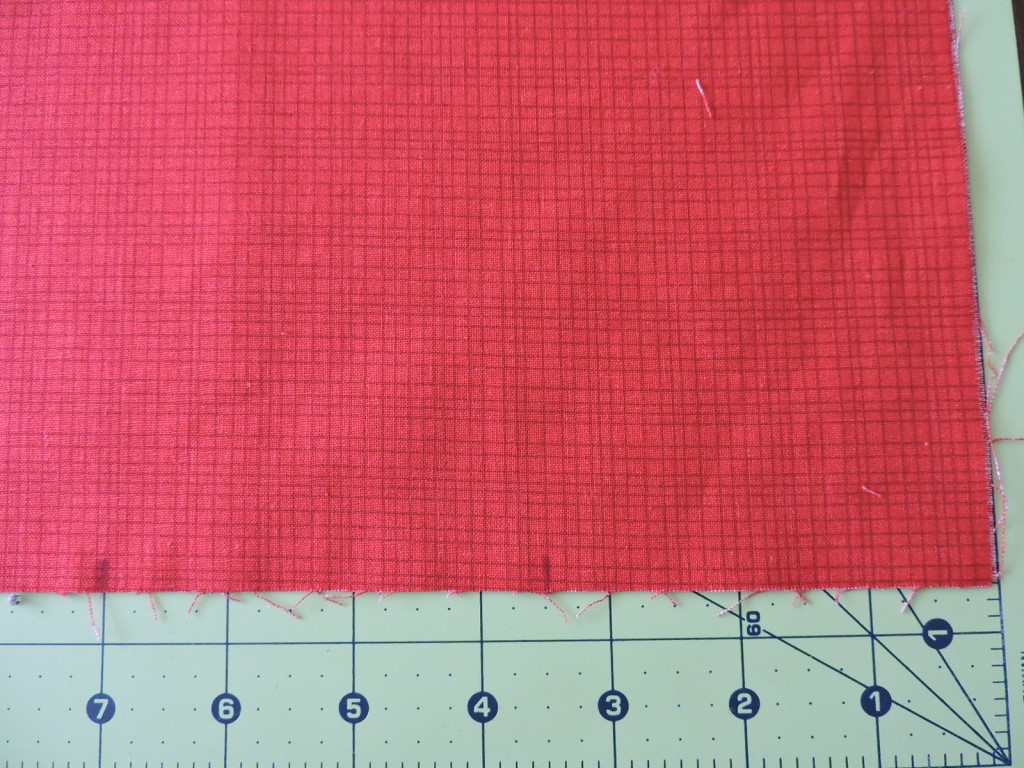
Sew a line half an inch from the fold for our elastic to live in.

Along the bottom edge, make a mark every 3 1/2 inches (you should end up with five marks).
For the marks that fall seven inches in from the sides (the second and fourth marks) draw a straight line from the top to the bottom of the pocket (this is easier to do before pleats and elastic try to pull things wonky). I forgot to take a photo of this step, but you can see the line below just the same:

Now we'll deal with those pleats along the bottom. This piece of fabric is 21 inches wide, and our bag front/back is 16.5 inches wide. That's a difference of 4.5 inches. I'm making three pleated pockets, so three into 4.5 is 1.5. Each pleat has 1.5 inches of fabric in it. And because we're folding that fabric to make the pleat, we half that number to 3/4 inch. (Honestly it'll make more sense in a second. Unless I haven't lost you yet).
SO, pick one of your remaining three marks to start with. Fold on that mark, and pin your pleat (like we did on the outside pockets) 3/4 inch away from the fold:

Pin the other pleats the same way (make sure all of them have the fold towards the front or back so they look uniform). Open them up a bit and pin them flat. Press it little bit.

Cut about eighteen inches of elastic and feed it through the casing just as we did for the outside pockets, stitching the one edge before pulling it all the way through. Pull the elastic through until the top edge of the pocket measures 16.5 inches, then stitch that edge and even out the gathers.
OK. Now take either the back or front of your lining, laying it down right side up. Lay your pocket down on it, matching up the bottom edge, and pinning in place (if it's a touch off it's really no big deal and you can trim off that overhang). I pin along the sides, too. Because I'm the boss. Stitch along the bottom, using a 1/4 inch seam allowance. You could omit this and leave lots of pins in place, but stitching along the bottom makes it a bit easier to attach the gusset.

Remember those lines we drew? We are going to stitch along those to separate one pocket into three. Start at the bottom, and stitch towards the top, keeping everything as straight as you can. When you get to the elastic backstitch several times.

Remember how we trimmed the curved corners on the exterior? Do it again here.

Repeat for your other pocket piece.
Sew your front to the gusset, right sides together, just as you did on the exterior of the bag, using a 3/8 inch seam allowance. Repeat for the back part of the bag and the gusset, but make sure you leave an eight inch gap along the bottom so we can turn this right side out later on.
Attaching the Zipper Casing
We need to make a few marks on our lining to get our casing in just right. Draw a line across the front and back pieces 1 1/4 inches from the top edge.

My zipper casing is exactly two inches smaller than the (finished) lining, so I started pinning the casing in place one inch from the seam, with the top edge flush with the line we just drew.

Then stitch the casing into place, as close to the edge as you can.

Repeat for the other casing and side of the bag.
Phew. So you have got the exterior of the bag, and the lining. Next time we meet you'll be finishing up your new bag!

I am so glad I visited your blog! I am beginning to sew again and this is the perfect place for a beginner. You entered a project in one of my challenges and I was impressed. Today, I started visiting all the people who follow us and this visit has been so rewarding. I now have a go to place for all my questions. Thanks so much for sharing your vast knowledge and wonderful creativity.
ReplyDeleteHugz,
Chana Malkah Harris, Owner
613 Avenue Create Challenge Blog